
Summary
Recap
In the last post we saw the how to create Kubernetes cluster in GCP cloud and also to remove unnecessary service to maximize the use of cluster resource. assign static IP to cluster nodes.
Agenda
- Clone Hello World application
- Deploy hello world application to Kubernetes cluster
- Update firewall to allow user to access application
- Deploy service to update internal IP
- Wrap up
Hello World Application
I have written sample hello world static html application with Dockerfile to build the docker image using nginx server. You can clone the complete repo using below command
1
git clone https://github.com/Sharathmk99/hello-world-kubernetes.git
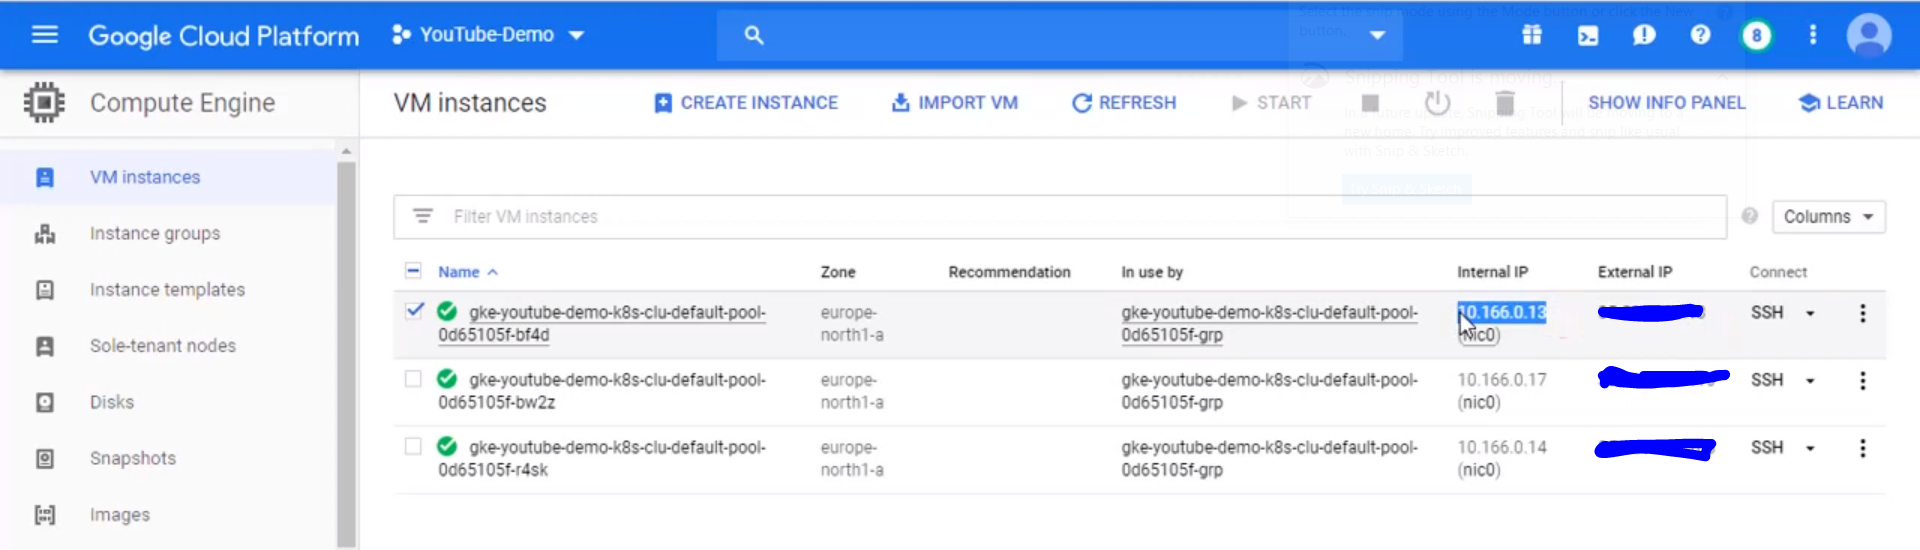
Once you clone the repository you need to update deployment.yaml with internal IP of cluster node. As i have explained in the first part we are not going to use LoadBalancer to reduce the cost of our custer, for this reason we are going to expose our application to one of our cluster node IP. But Kubernetes service can’t accept external static IP address, we need to provide VM’s internal IP to the Kubernetes service. You can get internal IP from GCP console under Compute Engine -> VM Instance
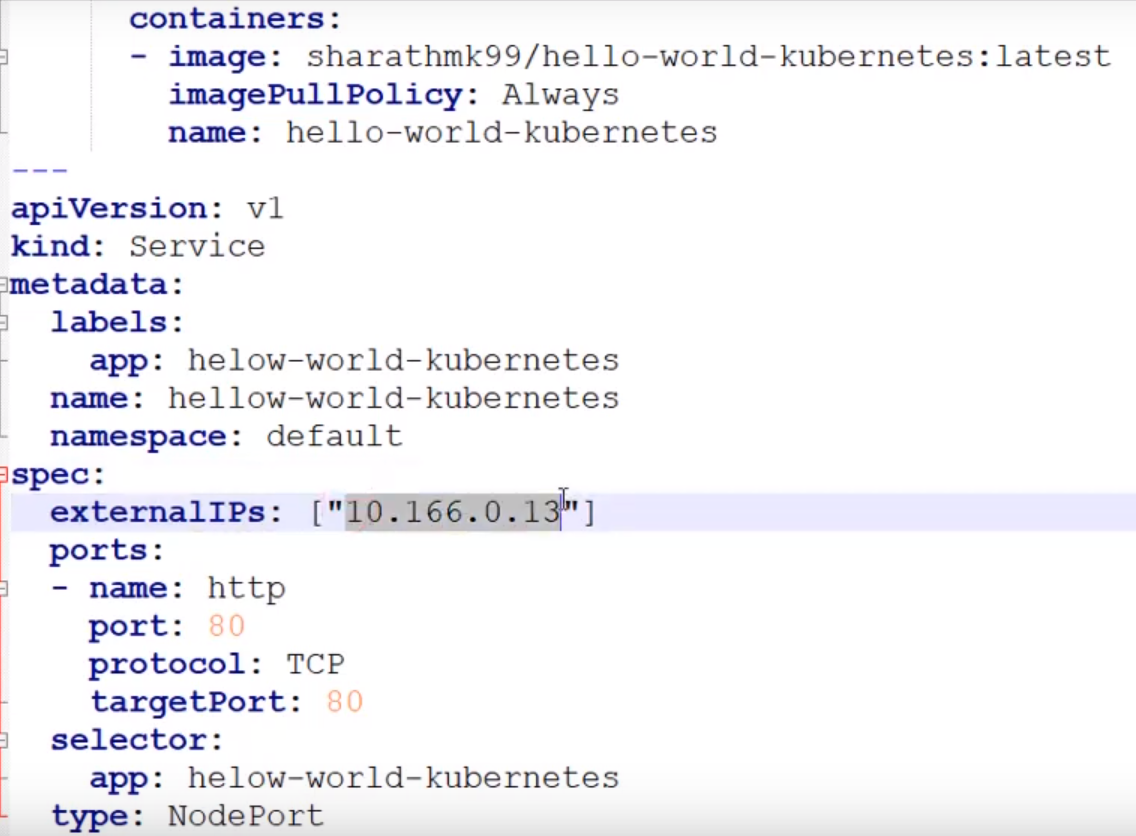
Once you got your Internal IP of VM’s you need to update in deployment.yaml
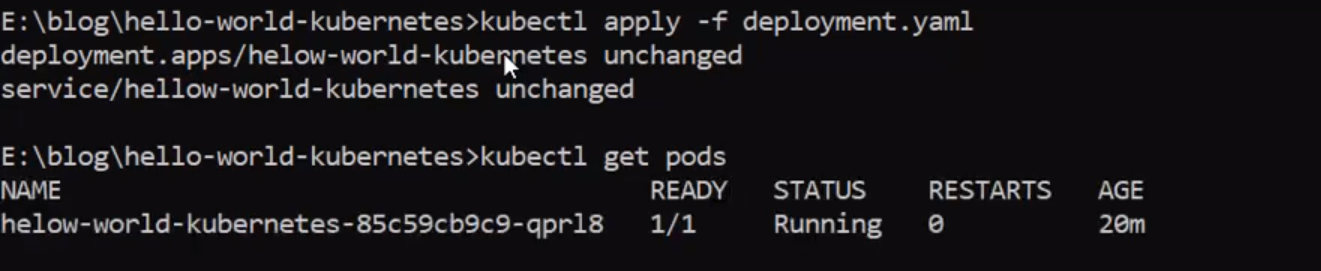
Now we ready to deploy our first application on Kubernetes Cluster. Execute below command from root of the hello-world-kubernetes folder
1
kubectl apply -f deployment.yaml
If you check the external IP of the Kubernetes service, you should see the internal IP of one of your clusters node IP

Configure firewall to allow port 80
We need to allow port 80 connection to our node’s, so that anyone can access the application from internet. To configure firewall navigate to Compute Engine -> VPC Network -> Firewall
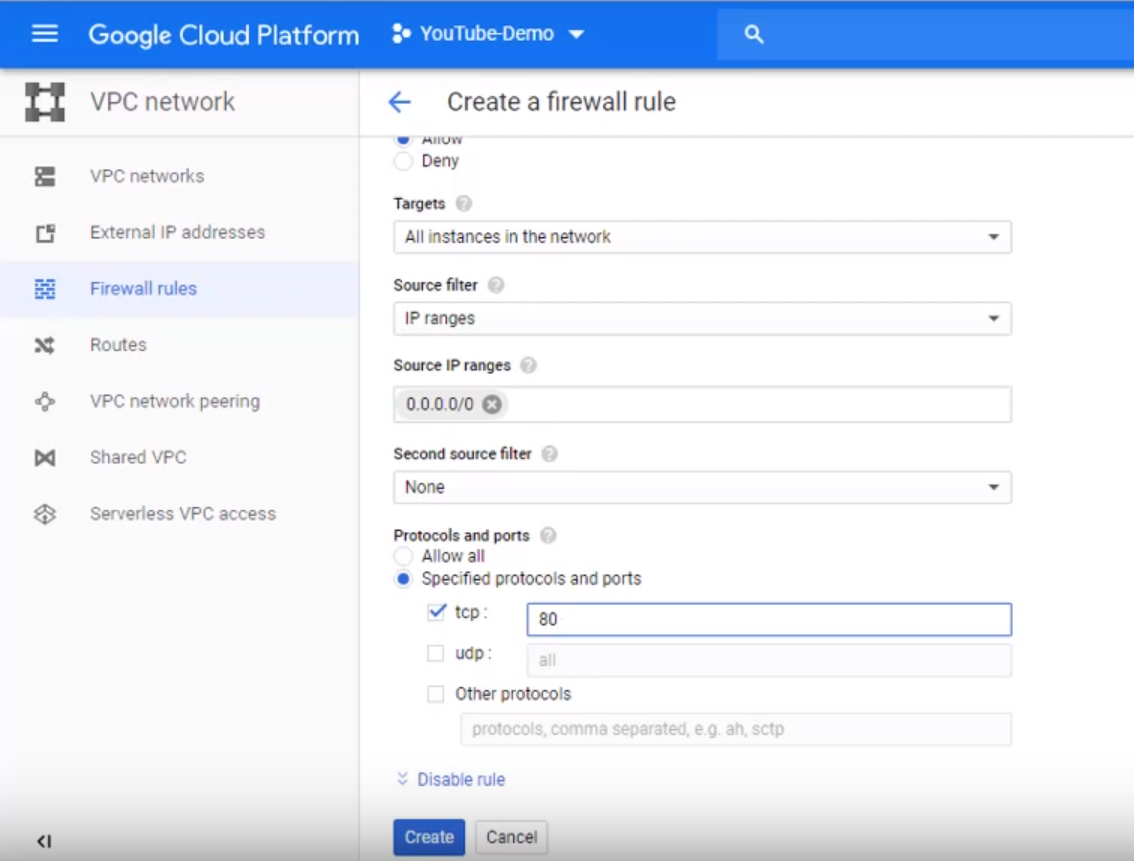
Once you click on Create Firewall Rule and provide a name to the firewall and select Direction Traffic as Ingress and Target as All Instance in the network. As we need to allow everyone to access the application we provide Source IP address as 0.0.0.0/0
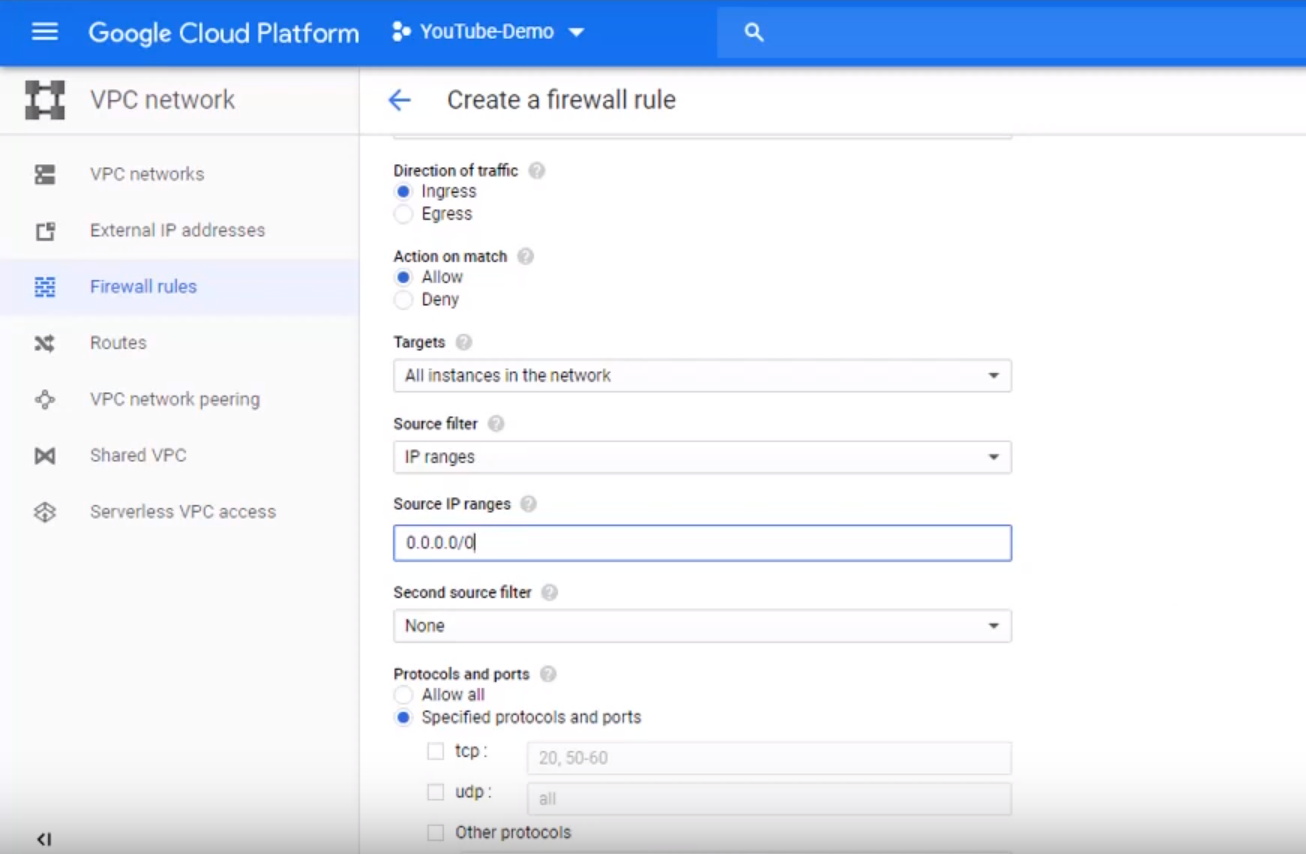
Finally we need to provide Protocol and Ports as TCP and 80 respectively
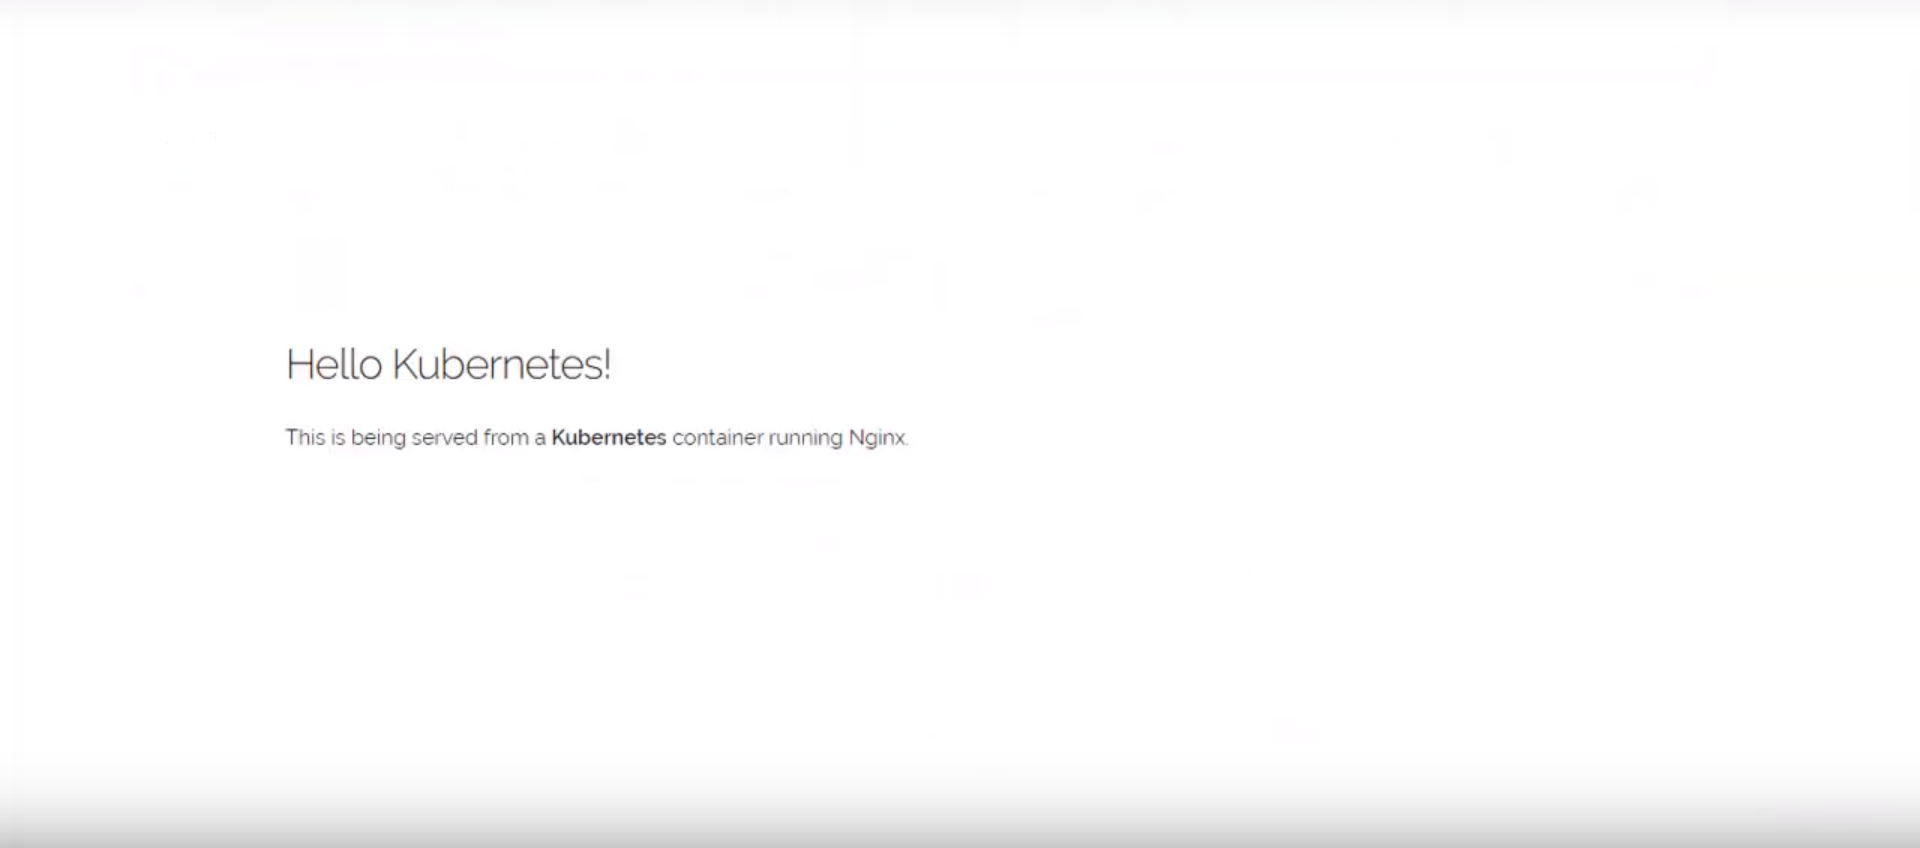
Now finally you can access your application from External IP under Compute Engine -> VM Instance for which you took internal IP to configure above
1
http://<external ip>
Deploy service to update internal IP
As explained earlier preemptible VM’m will be re-allocated once in every 24hrs, which means Internal IP will be changed. We need to update the new internal IP to Kubernetes service. Opportunity for automation!!. I wrote simple python program using kubernetes client python package to monitor any new node is added to the cluster. Once i receive node add event, i’ll get the internal IP of the newly added node and update same to Kubernetes service.
Clone the GIT repository
1
git clone https://github.com/Sharathmk99/kube-service-ip.git
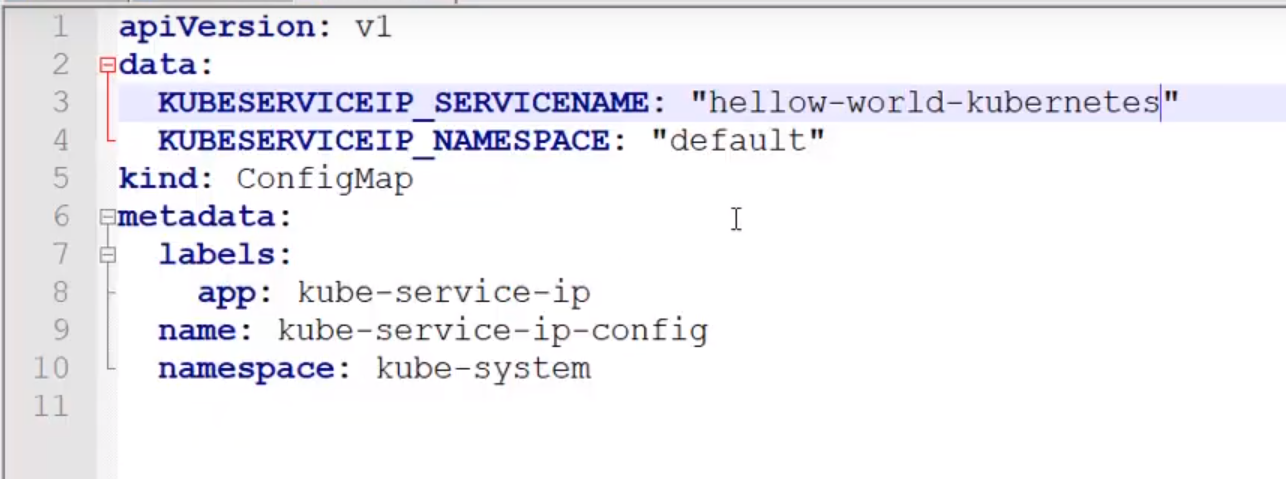
Under deploy folder update configmap.yaml with your service name and namespace. In our case we will update service name as hellow-world-kubernetes and namespace as default
To deploy the kube-service-ip to cluster execute command
1
kubectl apply -f deploy/.
You check if everything is running correct using
1
kubectl get pods --all-namespaces
You should see similar output as below
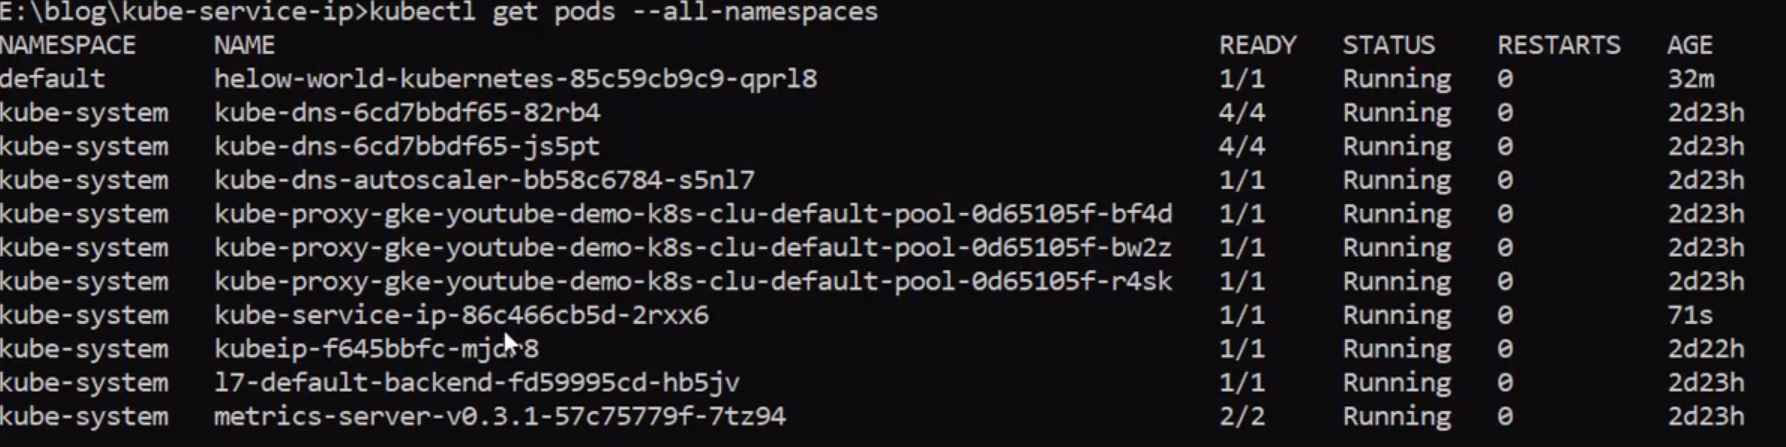
That’s it now your Kubernetes and your application will be running 24x7. No need to think about any downtime of your application.
Wrap up
In this series we saw how to create cheap/affordable Kubernetes Cluster for hosting your application or blog or for Hobbies. For testing the cluster we deployed hello world application and tested from browser. You can run your multiple application for 1 year without paying any money on Google Cloud Platform.
Video tutorial